I’m going to provide an ultimate beginner’s guide for those of you who are eager to build your first computer. Whether you’re completely new to the process or have a bit of knowledge about computer hardware, this article will take you step-by-step through the process and help you easily create your very own custom PC. With the rapid development of technology, there are countless types of computer components available, and choosing the right hardware and understanding its function are key to building a high-performance machine. Luckily, I have some experience in this area, so I’m excited to share my insights and tips with you.
Why Build Your Own Computer?
First, you may be wondering, “Why not just buy a pre-built computer?” The answer is simple: building your own computer gives you complete control over the selection of hardware, allowing you to achieve better value for your money while customizing the machine according to your specific needs. For example, if you’re a gaming enthusiast, you might need a powerful graphics card, whereas if you’re into video editing or 3D modeling, you’ll likely prioritize the processor and memory.
In addition to that, there are many other benefits to building your own computer:
- Better value for money: You can select components that fit your needs without paying extra for unnecessary features.
- Customization: You get to choose every part based on your requirements, creating a machine that’s truly your own.
- Learning and understanding hardware: Building a computer gives you a deeper understanding of how every part works, so when issues arise later, you’ll have more confidence in troubleshooting.
Basic Knowledge You Need Before You Start
1. Understanding the Main Components of a Computer
Before you start, you should know the essential components of a computer. Generally, the following parts are key hardware you’ll need to understand:
- Central Processing Unit (CPU): The brain of the computer, responsible for executing all computing tasks. The CPU choice greatly influences the overall performance.
- Graphics Processing Unit (GPU): If you’re into graphic-heavy tasks such as gaming or video editing, a powerful GPU is crucial. A good graphics card can significantly boost graphical performance.
- Motherboard: The motherboard connects all hardware components and serves as the backbone of the computer. You’ll need to make sure it’s compatible with the other components.
- Random Access Memory (RAM): RAM determines how well your computer can handle multitasking. More RAM means smoother performance when running multiple applications.
- Storage (HDD/SSD): The hard drive stores data. SSDs (solid-state drives) are faster and ideal for applications that require high read and write speeds.
- Power Supply Unit (PSU): The PSU converts electrical current into power suitable for your computer hardware and ensures stable power delivery.
- Computer Case: The case holds all the hardware, and its size and design affect the installation space for components.
2. Tools and Materials
Before you begin assembling, you’ll need to gather some essential tools:
- Screwdriver: A small Phillips-head screwdriver is an essential tool.
- Anti-static Wrist Strap: Static electricity can damage your computer parts, so using an anti-static wristband is crucial.
- Hardware Accessories: These include screws, cables, and other accessories. Some hardware comes with these accessories, while others may require you to purchase them separately.
3. Component Compatibility
When selecting components, it’s critical to ensure they’re compatible with each other. For instance, does the CPU fit the motherboard socket? Is the memory compatible with the motherboard’s supported frequencies? Here are a few tips:
- CPU and Motherboard Compatibility: Ensure your CPU socket matches the motherboard socket. Different brands and models of CPUs may require different socket types.
- Memory Compatibility: The memory stick’s frequency, size, and the motherboard slot must be compatible. Most motherboard product pages will list the compatible memory brands and specifications.
- Graphics Card Size and Case Compatibility: Graphics cards come in different sizes. If you have a smaller case, make sure it can accommodate the larger cards.
Step-by-Step Assembly Process
Now, let’s dive into the step-by-step guide to building your computer:

Step 1: Preparing and Installing the Motherboard
Start by clearing your workspace and ensuring that there’s no static electricity present. Once you’re wearing your anti-static wristband, the first step is to install the motherboard. Place the motherboard into the designated area of the case and secure it with screws. Don’t forget to install the I/O shield before placing the motherboard, ensuring the ports align properly.
Step 2: Installing the CPU
Installing the CPU is one of the more delicate parts of the process. First, locate the CPU socket on the motherboard and gently lift the latch. Take the CPU, align it with the socket (follow the instructions provided with your motherboard), and carefully place it in the socket. Once it’s in place, press down the latch to lock it.
Step 3: Installing the RAM
Installing RAM is straightforward. Simply find the RAM slots on the motherboard, align the memory stick with the slot, and gently press it into place. Some motherboards come with multiple RAM slots, so it’s best to follow the recommended installation order to ensure optimal performance.
Step 4: Installing the Graphics Card
Next, you’ll install the graphics card. Open the expansion slot cover on the case, then align the graphics card with the PCIe slot on the motherboard. Insert the card and secure it with screws. Make sure the card is firmly in place to prevent any loose connections.
Step 5: Installing Storage Devices (SSD/HDD)
Now, install the storage devices. Different types of storage drives have different installation methods. HDDs typically require screws to secure them in place, while SSDs can often be inserted directly into the M.2 slot. Connect the power and data cables as needed.
Step 6: Connecting the Power Supply and Cables
Install the PSU in the case, usually at the bottom. Connect the cables to the motherboard, graphics card, and storage devices. PSUs usually come with various cable types, so ensure you’re connecting the correct cables to the appropriate ports.
Step 7: Final Checks and Startup
Once all the components are installed, do a final check to ensure everything is properly connected. Then, connect the monitor, keyboard, and mouse, and power on the computer. If everything’s correctly assembled, your computer should start up and boot into the BIOS. From here, you can go ahead and install your operating system.
Tips and Considerations
- Always be cautious of static electricity to avoid damaging your hardware.
- If you run into issues during installation, consult the hardware manuals or look for help online.
- When choosing components, avoid blindly opting for high-end specs. Choose parts that best suit your needs.
Building your own computer not only saves you money but also allows you to understand each hardware component and tailor the machine to your specific needs. I hope this guide helps you master the basics of computer assembly and take the first step toward creating your own custom PC. If you have any questions about hardware selection or tools, feel free to reach out in the comments!
Recommended Brands and Products
To help you get started with your first DIY PC build, here are two excellent hardware brands that I highly recommend:
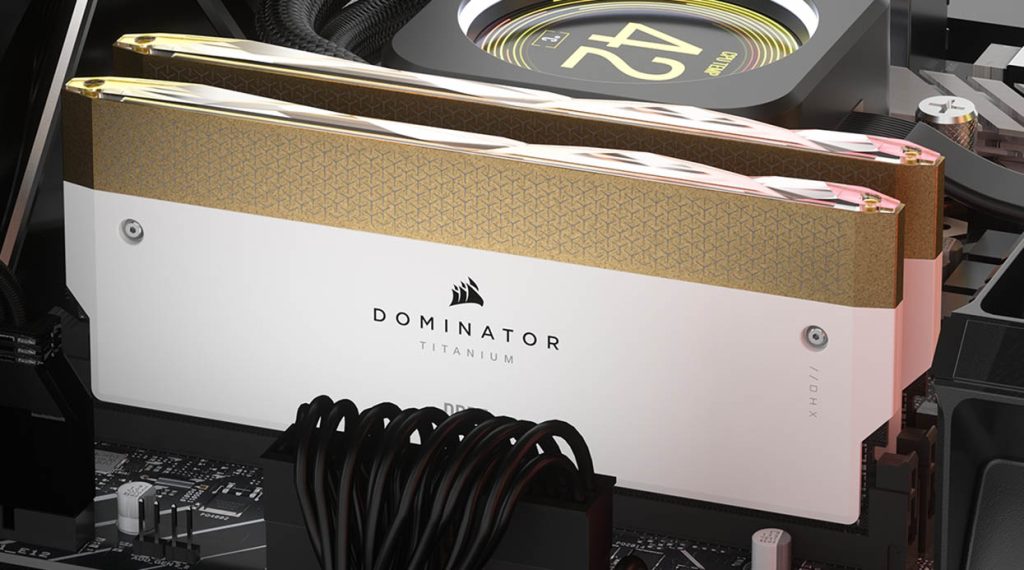
- Corsair: Corsair is a very popular hardware brand known for its high-performance memory, storage, and power supplies. They offer great value and reliability.
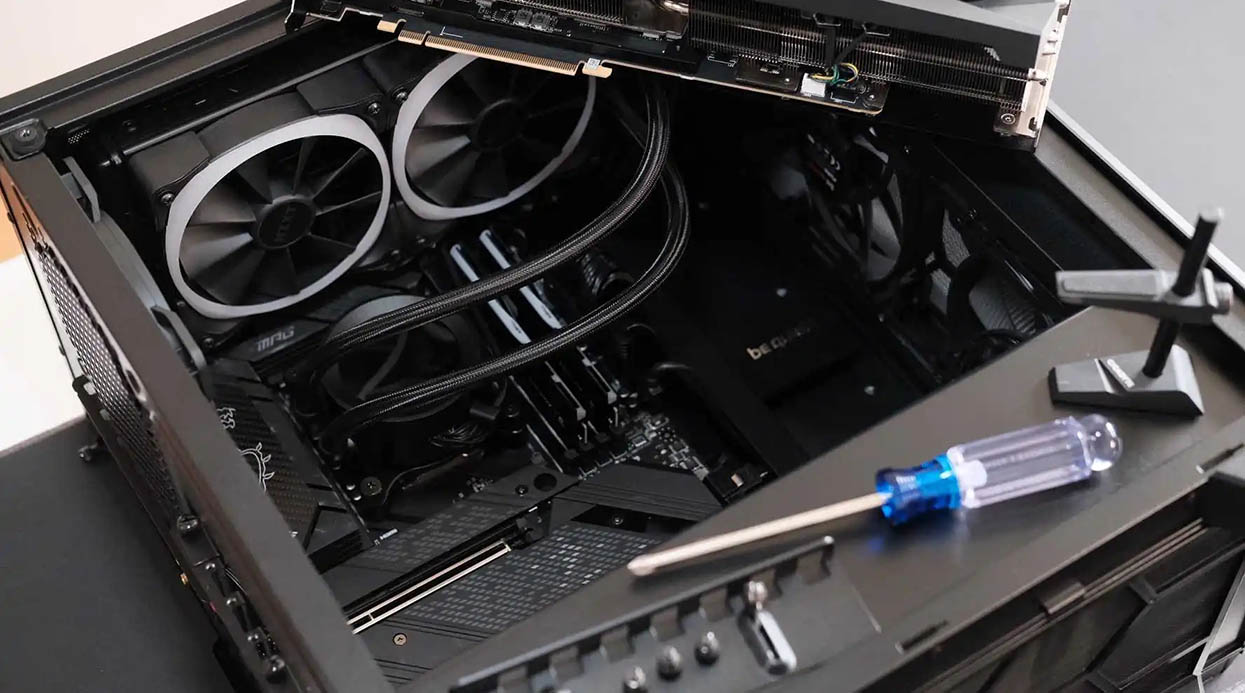
- NZXT: NZXT offers a range of beautifully designed cases that are perfect for both beginners and experienced builders, with excellent cooling and compatibility.
I hope this article helps you successfully complete your first computer build and enjoy the fun of assembling your own machine!